1. Enter Your Personal Information
First, go to www.genieanalyst.com/signup to begin registration. You will see the Personal Information form.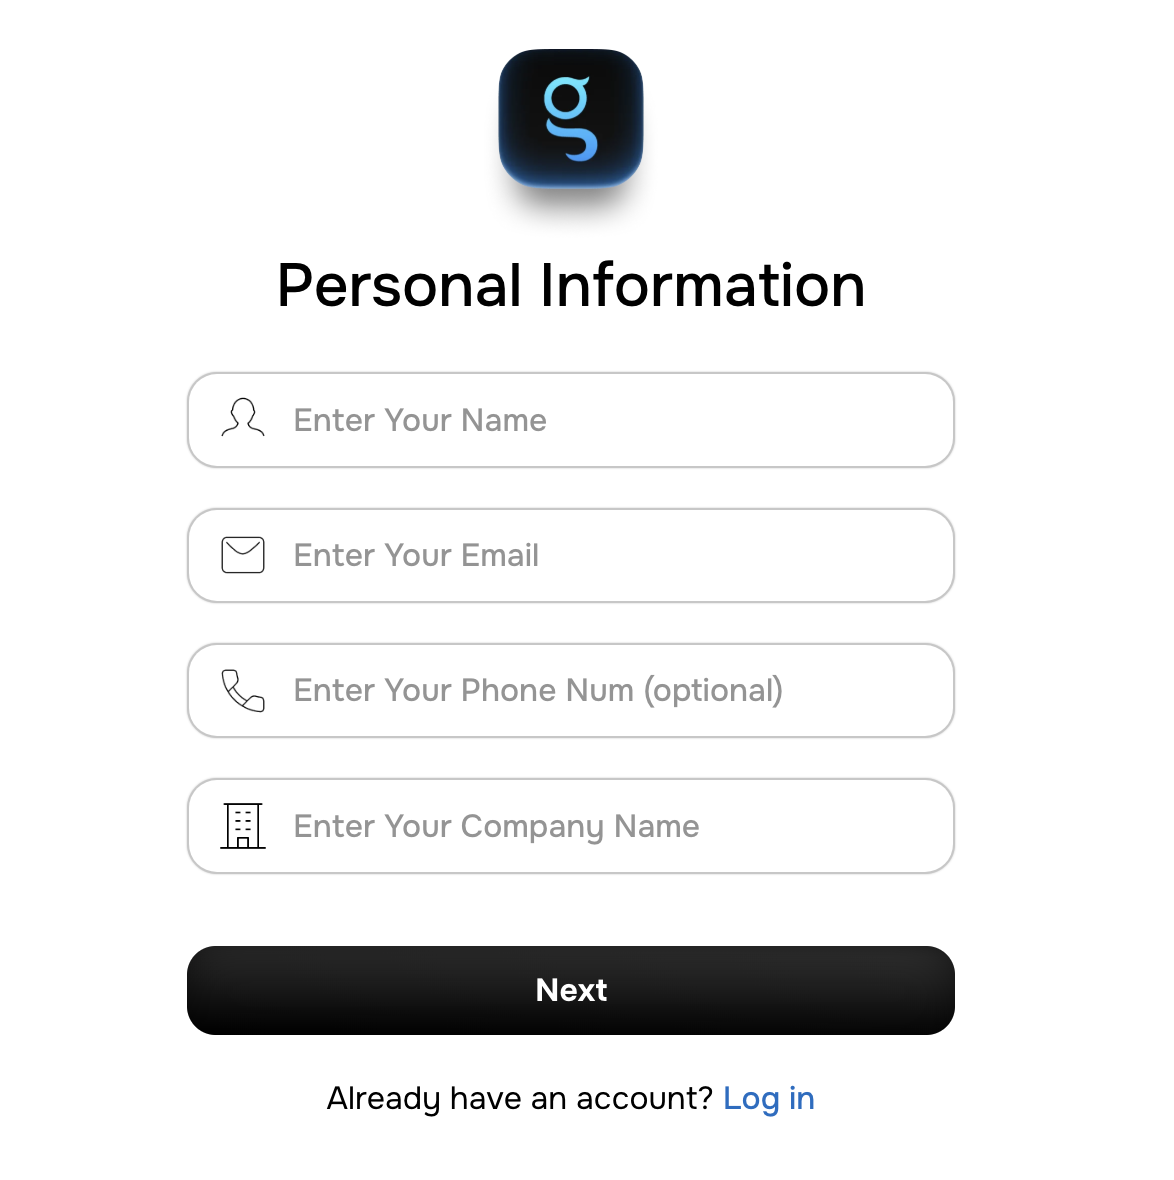
- Full Name: Enter your complete name.
- Email Address: Provide your official or work email address.
- Phone Number: Enter a valid contact number.
- Organization Name: Enter your company or organization name.
You can skip adding a database during signup. Databases and integrations can be added later from your Genie Analyst Dashboard once your account is active.
2. Enter Your Organization & Access Details
In the second step, provide your organization-level information to help Genie tailor your workspace and access permissions.- Number of Database Users: Total users who will connect or manage databases.
- Number of Non-Database Users: Users who will use Genie for analytics or reporting only.
- Sales Person Name: Enter the name of the sales representative assisting you (if applicable).
- Role: Select your role (e.g., Admin, Analyst, Manager, Executive).
3. Data Connection
This step allows you to connect Genie to your organization’s data environment.- Select Data Type: Choose the data source type (e.g., SQL Database, MongoDB, Google Sheets, SAP ERP, etc.).
- Select Database Schema: Select the schema or data structure your organization uses.
If you prefer, you can skip this step and add your database later from the Dashboard under “Data Connections.”
4. Receive Your Secure Password
After completing the signup, Genie automatically generates a strong, secure password for your account.- This password will be sent to your registered email address immediately after signup.
- It is strongly recommended to change this password after your first login for added security.
5. Verify Your Email
Check your inbox for a verification email from Genie Analyst.- Click “Verify Account” to confirm your registration.
- If you don’t receive the email within a few minutes, check your Spam or Promotions folder.
6. Log In to Genie Analyst
Once verified:- Visit www.genieanalyst.com/login.
- Enter your registered email address and the password sent to your inbox.
- Click “Log In.”
7. First-Time Setup
When you log in for the first time:- You’ll be prompted to set a new password for security.
- Complete your profile setup (department, team, and access preferences).
- Review and accept Genie’s Data Privacy Policy and User Agreement.
8. Accessing Your Dashboard
Inside the Genie Analyst Dashboard, you can:- Add or manage databases, vaults, and APIs securely.
- Ask natural-language questions (e.g., “Show me revenue growth by region.”).
- Generate AI-powered reports, dashboards, and insights instantly.
9. Forgot Password or Account Issues
If you forget your password:- Go to the Login Page and click “Forgot Password?”
- Enter your email address and follow the reset instructions sent to your inbox.
10. Security Best Practices
- Always change your auto-generated password after your first login.
- Use a strong and unique password.
- Log out after use, especially on shared systems.
- Genie automatically signs you out after a period of inactivity for added security.